
🪟 Window Measurement Calculator
Enter your raw measurements below — we'll calculate the recommended order size for you.
Measuring & Installation Guide
💡 Having trouble measuring or worried about calculations?
Don't worry, measuring yourself can be tricky! Every single order can be checked with us first before you complete your purchase. Feel free to reach out to our team anytime at support@uamblinds.com, and we will guide you through the exact measurements to ensure a perfect fit for your windows!
Before You Start
This guide offers a general introduction to install blinds and shades.Your installation instructions may vary depending on the specific product you have.
Please consult the installation instructions specific to your product for accurate guidance

Helpful Tips Before Starting:
- Use a steel tape measure for precise measurements.
- Ensure your window measurements are appropriate for either an inside mount or an outside mount. An inside mount fits inside the window recess for a neat appearance, while an outside mount covers the entire frame.
- Double-check the contents of your package to ensure you have the correct number of screws, mounts, and hardware required for installation.

Tools You Will Need
Make sure you have the following tools on hand:
- Measuring Tape
- Level tool
- Screwdriver
- Drill
- Step Ladder (if necessary)
Installation Steps
To access complete instructions on how to install blinds or shades, select your customized installation category below.
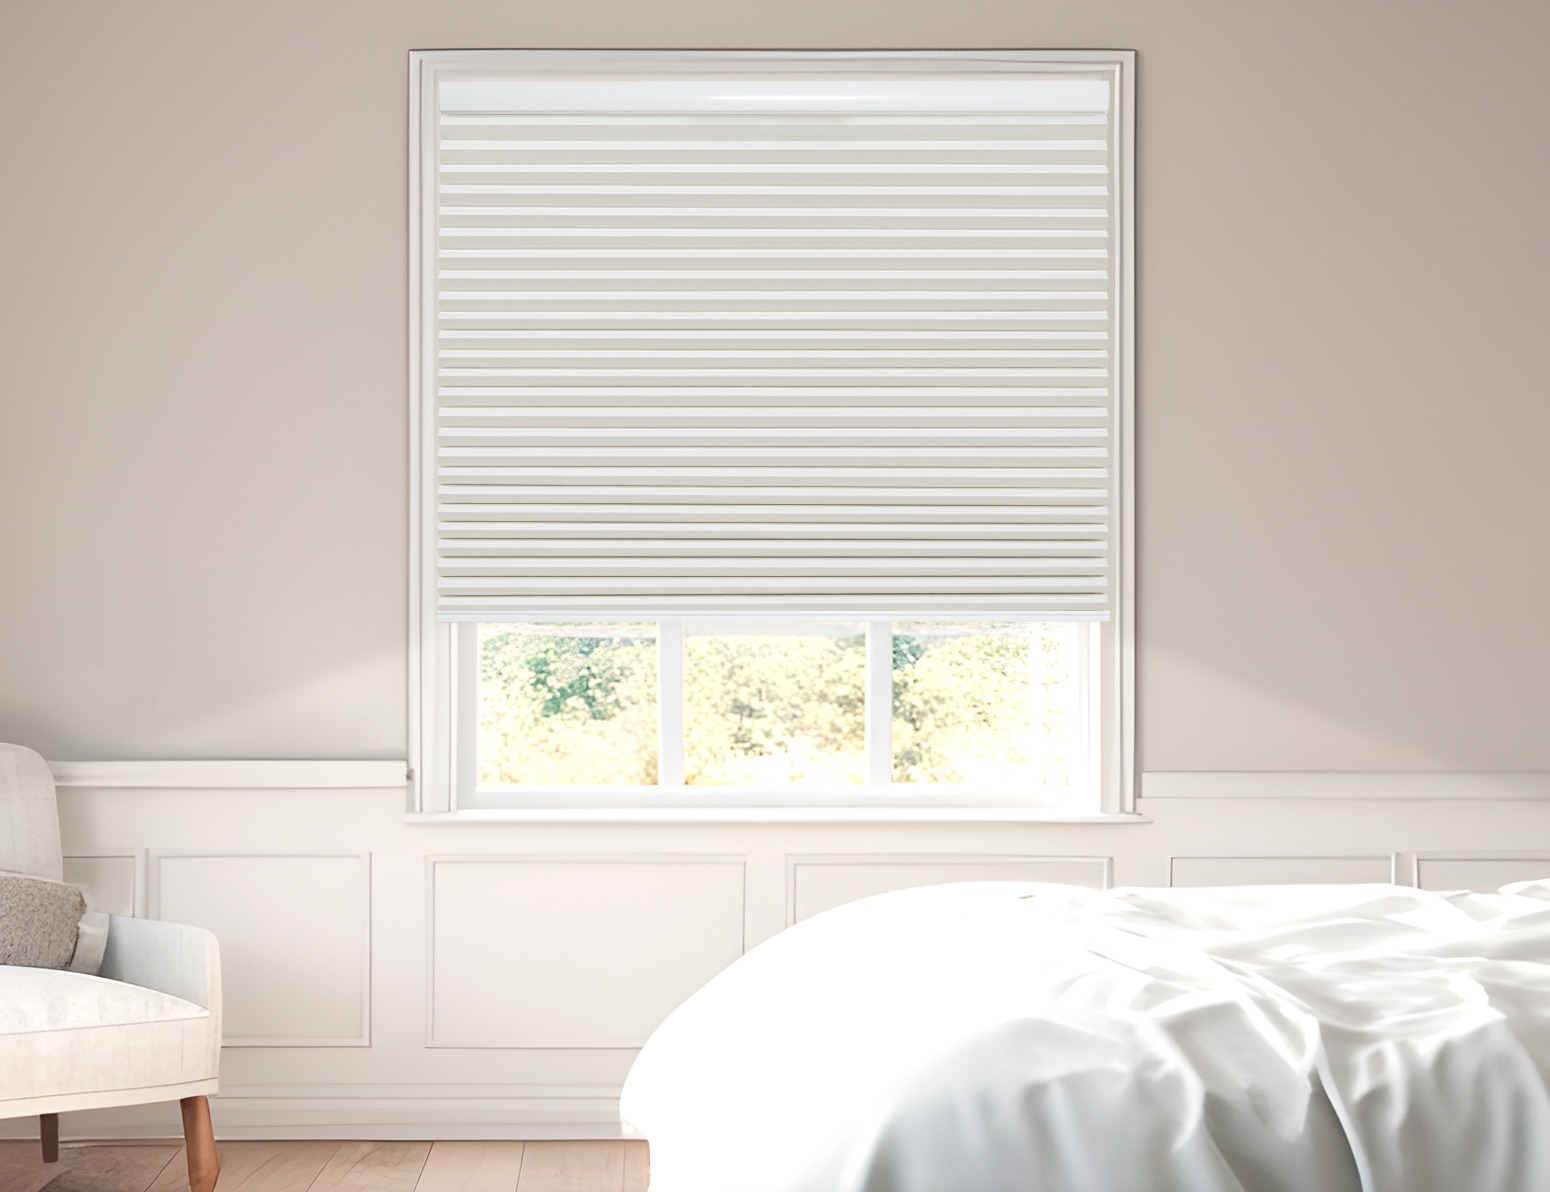
How to Install Inside Mount Blinds or Shades
These general steps offer an overview of the process for inside mount blinds installation.
- Place the first bracket at the upper corner of the window frame, aligning it with the wall surface. Refer to your product's instructions for exact bracket placement, especially if using a decorative valance.
- Mark screw locations with a pencil.
- Repeat steps 1 and 2 for the second bracket in the opposite corner of the window frame. If mounting into drywall without studs, use drywall anchors.
- Use a steel tape measure or level tool to confirm even bracket placement.
- Drill pilot holes smaller than your screws at the bracket marks, then screw the brackets in place.
- Install the blinds by sliding the headrail into the brackets and secure it by closing or snapping the brackets, depending on the style.
- Test the blinds by lowering, raising, and rotating them to ensure functionality.
If you need, you can contact us for the relevant installation video.
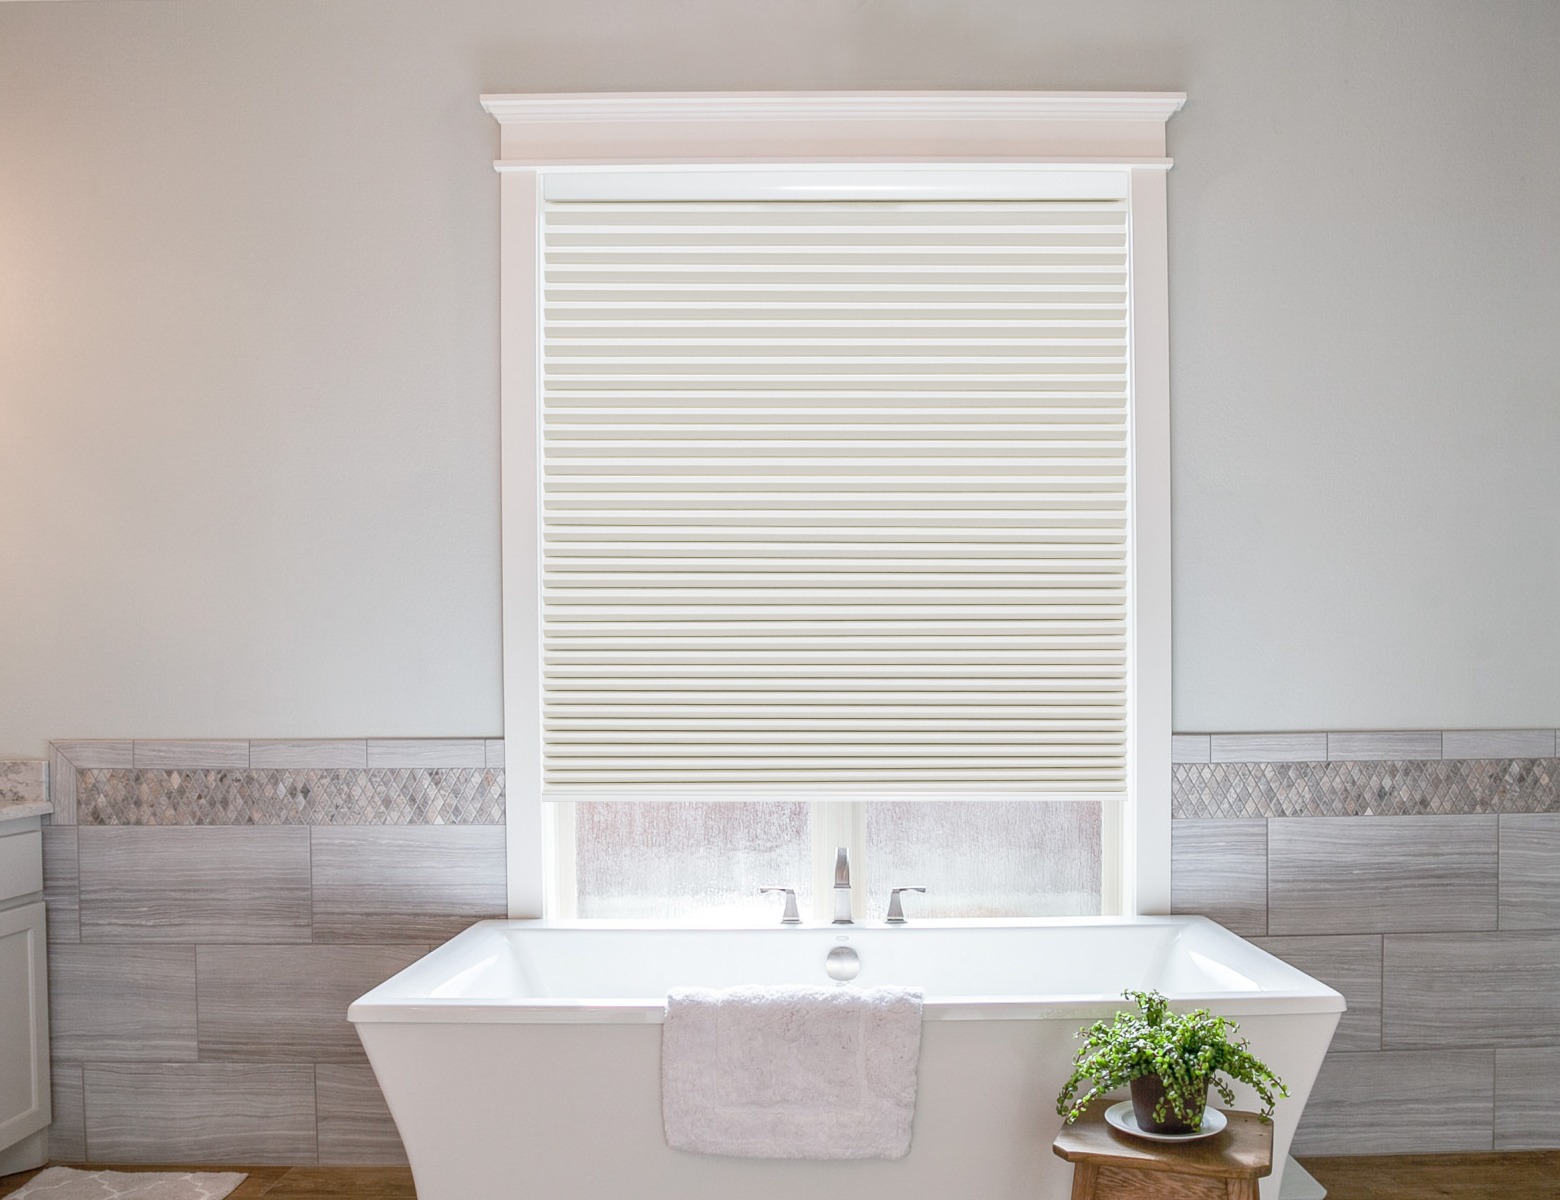
How to Install Outside Mount Blinds or Shades
These general steps offer an overview of the process for outside mount blinds installation.
- Position the first bracket in the upper corner of the window frame so that it's flush with the wall's surface. Refer to your product's instructions for exact bracket placement.
- Mark screw locations with a pencil.
- Repeat steps 1 and 2 for the second bracket in the opposite corner of the window frame. If mounting into drywall without studs, use drywall anchors.
- Use a steel tape measure or level tool to confirm even bracket placement.
- Drill pilot holes smaller than your screws at the bracket marks, then screw the brackets in place.
- Install the blinds by sliding the headrail into the brackets and secure it by closing or snapping the brackets, depending on the style.
- Test the blinds by lowering, raising, and rotating them to ensure functionality.
If you need, you can contact us for the relevant installation video.
Ready to Order? Shop Our TDBU Cellular Shades
Now that you know your measurements, explore our top-rated Top Down Bottom Up shades — perfect for light control and privacy.
TDBU Light Filtering Shades → TDBU Blackout Shades →